

It can sometimes feel like you need a degree in editing photos to get the perfect shot on Instagram, but if you’re reading this, I’m guessing you’re not a professional photographer. That’s why I compiled some of my tips for editing your photos, specifically to make them look like famous bloggers. Some of the most popular bloggers have a whole brand around their blog. Logging in every day is a great way for people to feel connected to a blogger, and create a loyal following. This is a great way to create a sustainable income stream from blogging.
The quality of Instagram photos is the main advantage of any blogger or online store owner who sells products using this social network. With professional and interesting images, you get more chances to attract potential subscribers or buyers.
Use Several Photo Editing Apps
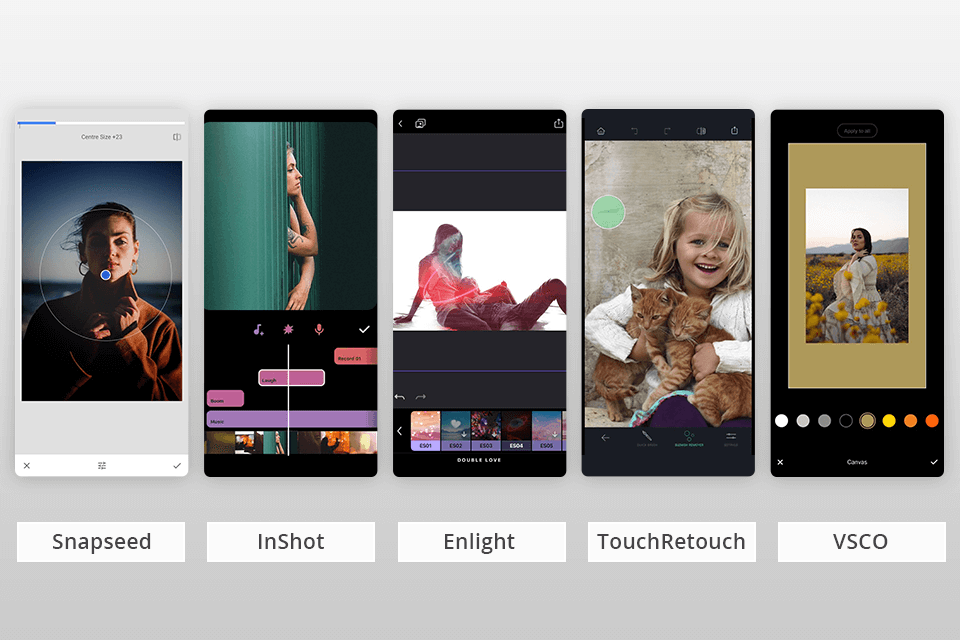
 Every Instagram blogger has favorite apps that allow users to transform an ordinary shot into an attention-grabbing photo. The secret suite of apps:
- Snapseed is great for editing and expanding images, as well as refining only a particular piece of a photo (runs on iOS and Android);
- InShot resizes images and videos for stories and galleries (suitable for iOS and Android devices);
- Enlight allows adjusting the color settings (is designed only for Android);
- TouchRetouch is a feature-rich app for image retouching. You can apply make-up, remove aging traces, highlight facial lines, improve skin tone and color (for iOS and Android platforms);
- VSCO brags about a plethora of unique and high-quality filters aimed at Instagram photo editing. You can also take advantage of integrated image processing features and a built-in camera with intuitive controls (compatible with iOS and Android OS).
- Insta bloggers for inspiration: Zoë Sugg, Aspyn Ovard Ferris, Amber Fillerup
Take High-Quality Photos in Max Resolution
To make a post on Instagram that will get hundreds of likes, you need to spruce it up with a beautiful photo. Some bloggers use DSLRs for taking images, while others opt for smartphones fitted with decent cameras. This can be iPhone 11-12 Pro or a more budget-friendly alternative – Samsung Galaxy A12.First of all, take several shots in natural lighting. However, if you photograph in poor lighting, enable the HDR mode.
The same rule applies to macro shooting and portrait photography in the open air. Think about the scene that will align with your Insta feed and try to realize your ideas in photos. If a picture is too small, it may look washed or have a rough texture.
Pro Tip: It is better to choose a 1080p photo. The Instagram app will cut your image into a square by default, but you can customize it to fit the entire width or height.
Insta bloggers for inspiration: Dylan Furst, Ben Lowy, Pei Ketron, Paul Nicklen, Chris Buckard, Michael Yamashita
 Every Instagram blogger has favorite apps that allow users to transform an ordinary shot into an attention-grabbing photo. The secret suite of apps:
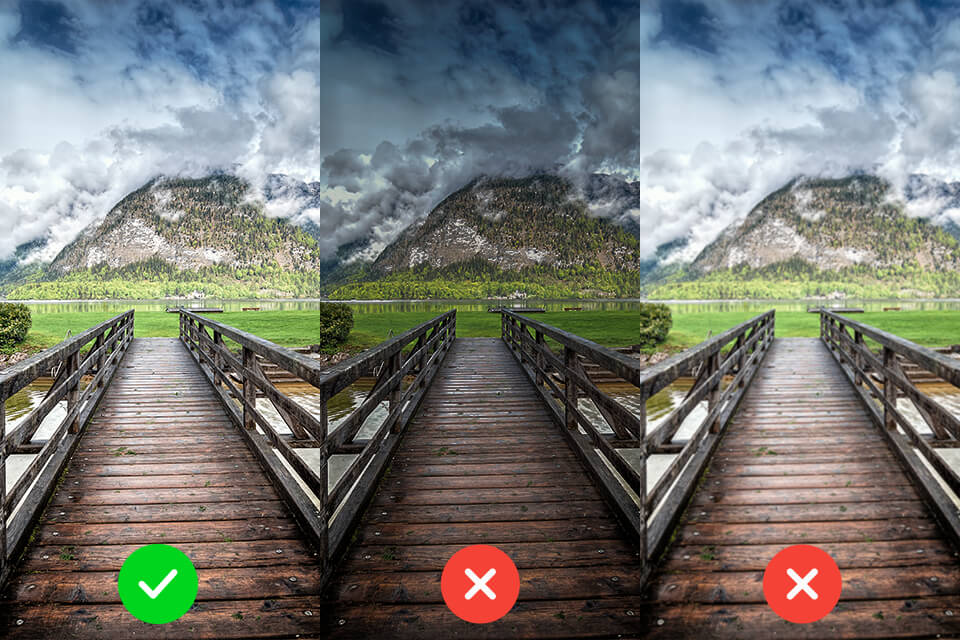 To make a post on Instagram that will get hundreds of likes, you need to spruce it up with a beautiful photo. Some bloggers use DSLRs for taking images, while others opt for smartphones fitted with decent cameras. This can be iPhone 11-12 Pro or a more budget-friendly alternative – Samsung Galaxy A12.
Create Gorgeous Visuals With Social Champ
Social Champ’s visual integrations – Crello, Canva, Wave, video, Dropbox, and Google Drive – allow you to create, upload, and edit stunning visuals from within the content dashboard.
Proper Instagram Photo Size Matters
Not to resize and edit photos for Instagram for many hours in a row, you’d better learn about correct sizes and formats in advance. The maximum image size is 1080×1080 px in height and width. That is a perfect square. If the picture doesn’t fit a square design, you can resize it to 1080×1350 px.
The maximum acceptable image weight is 30 MB. If you have a larger image, compress it in one of the editors, such as Adobe Lightroom or Photoshop. Besides, you can use JPG or PNG files only. Remember that Instagram allows you to add up to 10 images to one post using the Carousel function.
Choose Your Color Gamma and Styles and Formats
While adding photos, you need to stick to a particular color gamut, focusing on the background, color objects, or filters. In general, there are three popular styles:- post images with similar colors;
- choose several matching shades;
- change the color of the page theme from time to time.
Famed bloggers like experimenting with shades, adding a new one to each line (for three shots). Thus, you can make your profile eye-pleasing and easy to perceive. Besides, this method is suitable for the visual segmentation of products in several categories.
If you are a business owner and want to make your Instagram page popular among clients, choosing colors that correspond to those on your logo makes sense so that people will immediately recognize your brand. Besides, you can level up your business by addressing product image retouching services, where experts polish your images, so you can be sure every photo you post is flawless.
Pro Tip: According to the research carried out in the USA, most Instagram users post fancy images embellished with the Clarendon filter. It makes photos brighter without going overboard, which results in a universal appeal.
Insta bloggers for inspiration: Lauren Conrad, Jules Sariñana, The Skinny Confidential, Addison Rae
Consider Profile Photo Layout When Editing
You may have amazing photos, but they will be of little help if you output them in a hectic manner. Layout plays an essential role because few people want to jump from one tab to another to see images from a single photo session. You need to adhere to a particularly logical way of demonstrating your pictures.
Besides, you may go a bit creative and share photos with unique elements. In this case, you need to order professional image manipulation services. Experts can swap heads, make digital drawings, perform surreal manipulations, and more based on your requirements.
In Staggered Rows
This is a simple way of attracting followers’ attention. It is relatively easy to create such an effect – you need to place a photo, add text (tips, reviews, quotes), etc. You can attach product images, then follow them with descriptions and continue in this manner. It is also an excellent idea to alternate muted and bright colors.The “checkerboard” method is easy to implement and is suitable even for a single layout of posts. You need to decide on the “filling” beforehand. However, if you use this layout style a lot, you’ll be able to go with your gut.
Insta bloggers for inspiration: Tati Uribe M, Cerebralmist
In the Line
For this variant, you need three related images – they will be displayed in a line in one go. Make sure your photos share a similar color gamut, idea, etc. Keep in mind that you can locate images in a line both vertically and horizontally.Insta blogger for inspiration: Mysimplegram
This option resembles the previous variant. You also need three images with something in common. They will be displayed diagonally. For example, you can edit Instagram photos using the same effect or identically crop them to create that similarity.Insta blogger for inspiration: Lana Severinsky
Pro Tip: Create unique sequences. For instance, you can make a series consisting of a big shot followed by a close-up image. This looks very interesting.
Preserve Natural Skin Tone
When you edit photos for Instagram, especially portraits, you need to keep a natural skin tone. Don’t get too carried away with skin retouching, no matter how far you go with color correction and other adjustments.Look through the images of popular Instagram bloggers to understand what I mean. Though they improve their photos, they keep away from unrealistic skin tones, which may cause the wrong representation of human beauty.
Even in pictures with stunning color mixes, skin tones are on point. So, if you think that manual adjustments and fancy filters can do the trick, you are wrong. Every time you apply such filters, you need to finish the process with manual corrections.
Pro Tip: VSCO has a built-in skin tone slider, allowing smoothing out skin tones without going overboard. There are also tools to fix color casts without relying on destructive filters. Another method is to use the HSL instruments to improve the skin.
Insta bloggers for inspiration: Meghan Rienks, Christine Andrew, Caitlin Covington
Adjust White Balance
Instagram photo editing involves many steps. One of them is tweaking White Balance. Since people take images in different lighting conditions and the light temperature also varies, this may drastically influence the way whites are displayed in photos. For example, if you shoot at sunset, your picture will acquire a warm glow. Cloudy weather makes your photos cold.Photographers who use tubular fluorescent lights have to deal with a cold white glow in their shots. Those opting for table lamps receive images imbued with warm light. You immediately notice a crewed WB in pictures and need to fix this defect before sharing photos on Instagram.
Pro Tip: Snapseed is unmatched when it comes to quick WB corrections. The process is fully automated in this app. Go to the main panel and click “White Balance.” If you don’t like the outcome, try manual adjustments using sliders on the same panel.
Insta bloggers for inspiration: Rach Parcell, Vanessa Fitzgerald Wellness
Use a Retro Style
This photo finishing is never out of fashion. By sharing pictures with retro touches, you are bound to get many likes and positive comments. To obtain such an effect, you can use Story Luxe and Huji Cam applications.Insta bloggers for inspiration: Mila and vintage style, Hoosharon
Always Crop Your Photos
 Don’t underestimate the importance of image cropping. Using this simple method, you can define what area of a shot your followers will focus on. Besides, cropping tools make it possible to remove passers-by, photobombers, etc.
To crop images correctly, you can use the Rule of Thirds or negative space approaches. The former implies visually dividing a photo into nine equal squares and locating the main object at the intersections or along the lines.
Negative space is an empty area near the object of a shot. Increasing or reducing the amount of the negative space may also have an interesting effect. Many influencing Instagram users play with this empty area to make viewers study their photos for a more extended period.
Pro Tip: Keep tabs on the horizon because many amateurs have problems with this part of a picture. Remember that it should be straight.
Insta bloggers for inspiration: Sazan Hendrix, Emily Herren, Dede Raad, Shop DÔEN
Save Images for Later
Instagram has a special feature called “Drafts,” which will come in handy if you are in the middle of your editing process but can’t finish it right now. Thus, you can save your current edits and continue later. Go to the editing screen, click ahead to add a caption, click back to the image you are editing, and press the back arrow again. At this point, the app asks whether you want to save a picture with all the changes made as a draft.Next time you want to make a post, you can use this draft. To edit it, click on the camera tab and let it access your photo gallery. There you will see a separate section entitled “Drafts.” This way, you can pre-edit several photos and share them in due time.
Pro Tip: If you still don’t want to post your image but need to keep the latest changes, go to the “Share” screen and tap the back button. Your draft will be updated to the newest version.
Remember that you can save a draft only if you add Instagram filters to the post, edit it, tag your friends, or add a hashtag. If you just download the post without all those changes and go back, Instagram won’t ask you to save the draft.
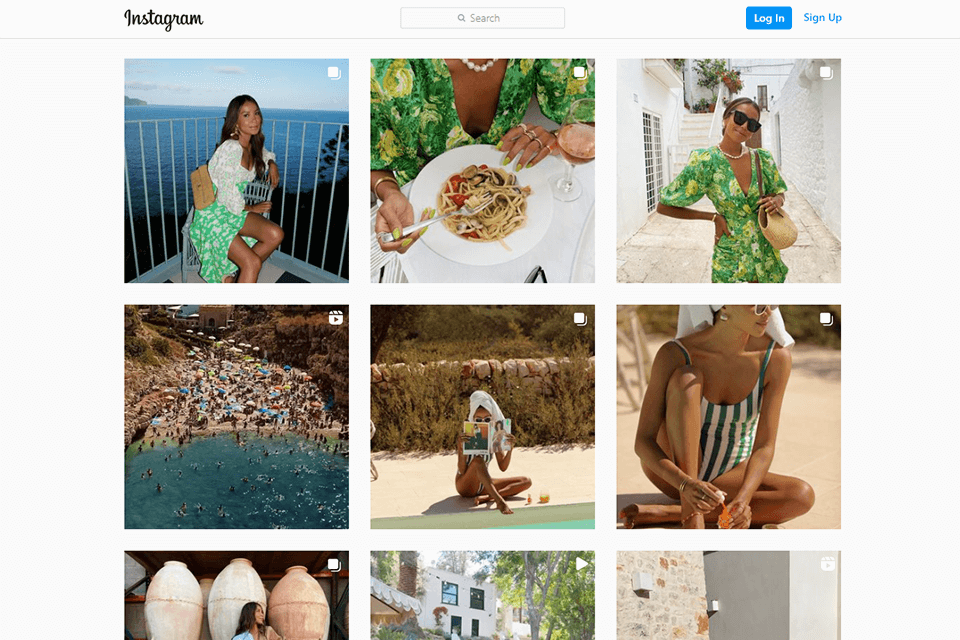 While adding photos, you need to stick to a particular color gamut, focusing on the background, color objects, or filters. In general, there are three popular styles:
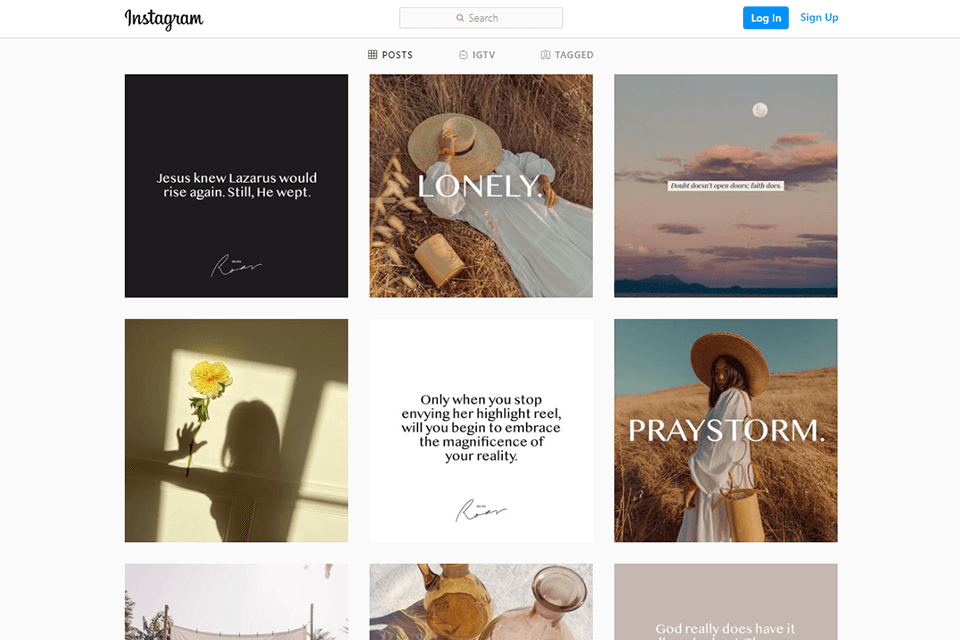 This is a simple way of attracting followers’ attention. It is relatively easy to create such an effect – you need to place a photo, add text (tips, reviews, quotes), etc. You can attach product images, then follow them with descriptions and continue in this manner. It is also an excellent idea to alternate muted and
 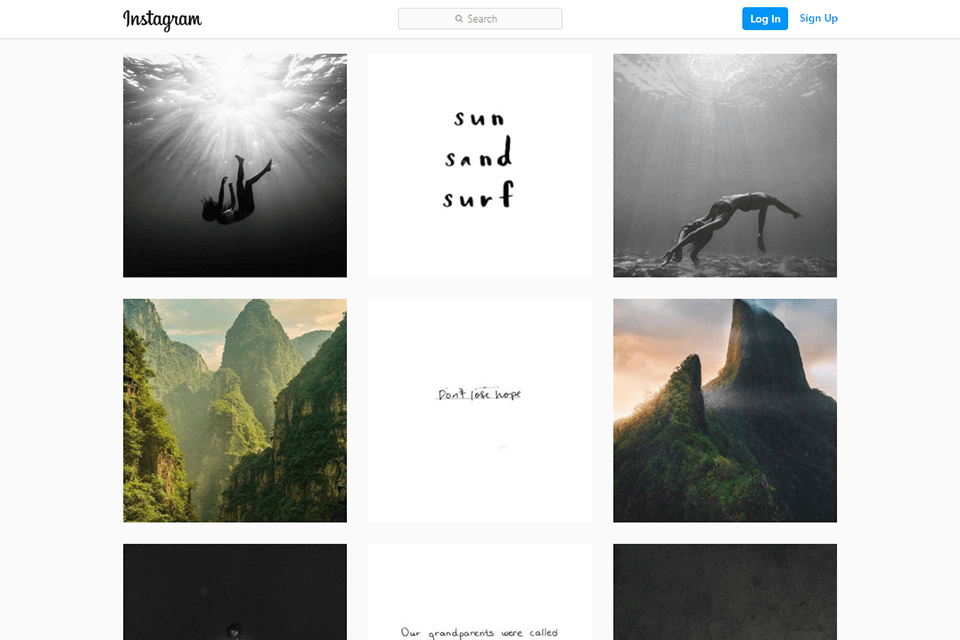 For this variant, you need three related images – they will be displayed in a line in one go. Make sure your photos share a similar color gamut, idea, etc. Keep in mind that you can locate images in a line both vertically and horizontally.
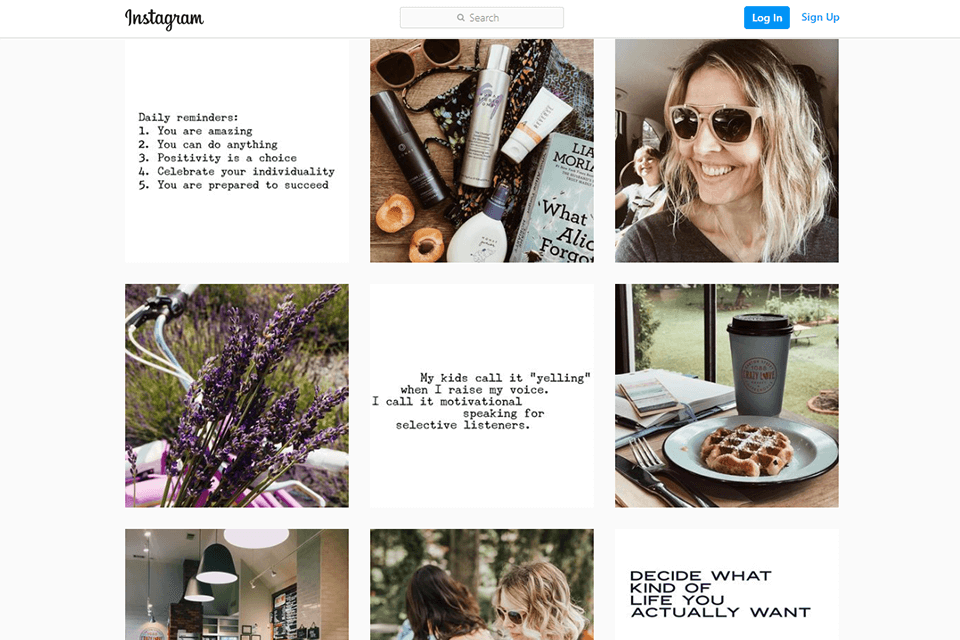 This option resembles the previous variant. You also need three images with something in common. They will be displayed diagonally. For example, you can edit Instagram photos using the same effect or identically crop them to create that similarity.
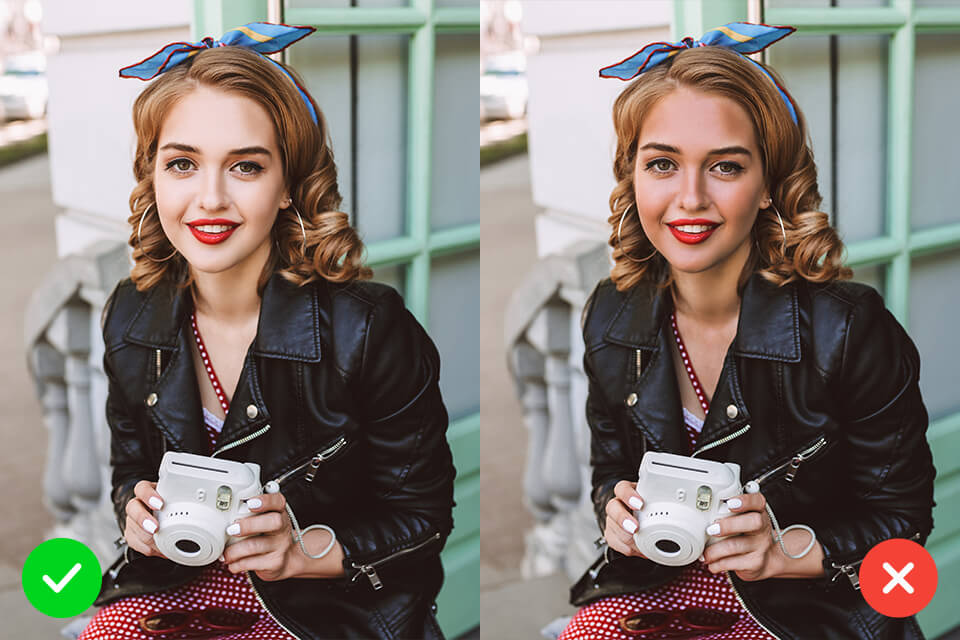 When you edit photos for Instagram, especially portraits, you need to keep a natural skin tone. Don’t get too carried away with skin retouching, no matter how far you go with color correction and other adjustments.
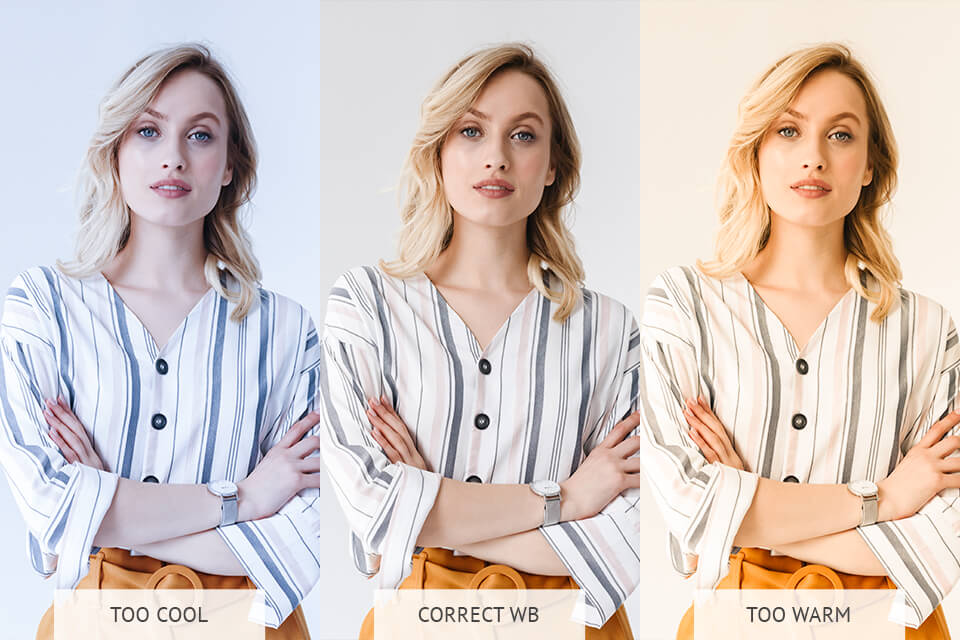 Instagram
  This photo finishing is never out of fashion. By sharing pictures with retro touches, you are bound to get many likes and positive comments. To obtain such an effect, you can use Story Luxe and Huji Cam applications.
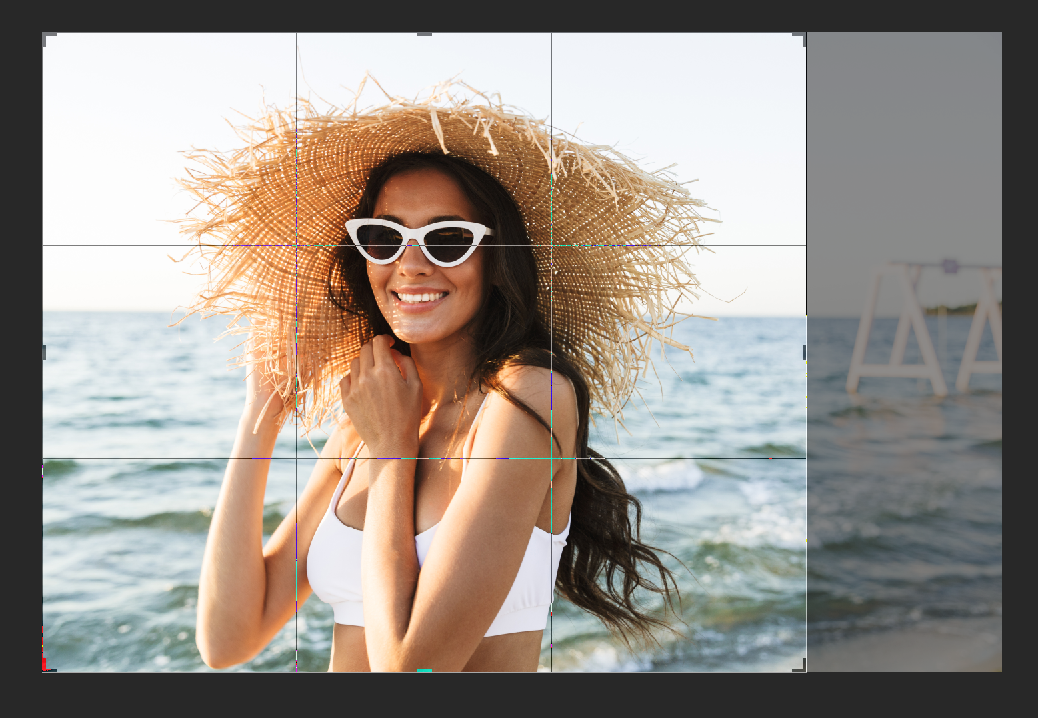 Don’t underestimate the importance of image cropping. Using this simple method, you can define what area of a shot your followers will focus on. Besides, cropping tools make it possible to remove passers-by, photobombers, etc.
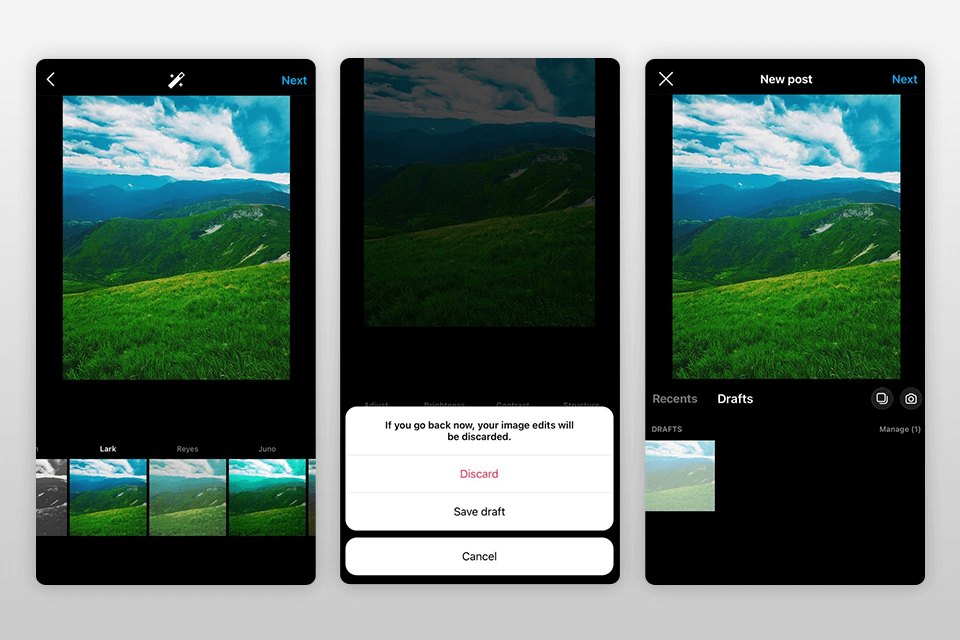 Instagram has a special feature called “Drafts,” which will come in handy if you are in the middle of your editing process but can’t finish it right now. Thus, you can save your current edits and continue later. Go to the editing screen, click ahead to add a caption, click back to the image you are editing, and press the back arrow again. At this point, the app asks whether you want to save a picture with all the changes made as a draft.
Remember Several Simple Rules:
- Photograph light objects against a dark background and vice versa;
- Avoid yellow and brown backgrounds while photographing people;
- Choose a style for your Instagram account. Images with a similar style are more eye-catching;
- Your Instagram page should correspond to your personality. Don’t use trendy filters and effects if you don’t really like them;
- Using a photo editor, first, apply a filter, and then proceed with corrections;
- Clean a lens before shooting;
- Use different apps for photo editing;
- Get rid of distracting items in shots;
- Don’t stick to standard angles, poses, etc. – go creative;
- Improve details and raise sharpness for a more professional result.
Honestly, the possibilities are endless. It depends entirely on how you perceive your feed to be and how you want it to look. Experiment with different styles and tools to find the one that fits your aesthetics.


5 thoughts on “Top 12 Tips to Edit Instagram Photos Like a Famous Blogger”
Nice Article
Clear Photo makes the difference in any sector. Thank you for your post about the tips to edit Instagram photos like a famous blogger. I expect from you other platforms’ ideas like Facebook Profile Photo editing. Hope for the best. Keep it up.
Instagram photo editing is very important for popularity.thanks for share your good advice.
Great information, we have started adopting these tips. Really useful. Thank you.
Your writing is very helpful and helps beginners can learn a lot. Thank you for sharing.