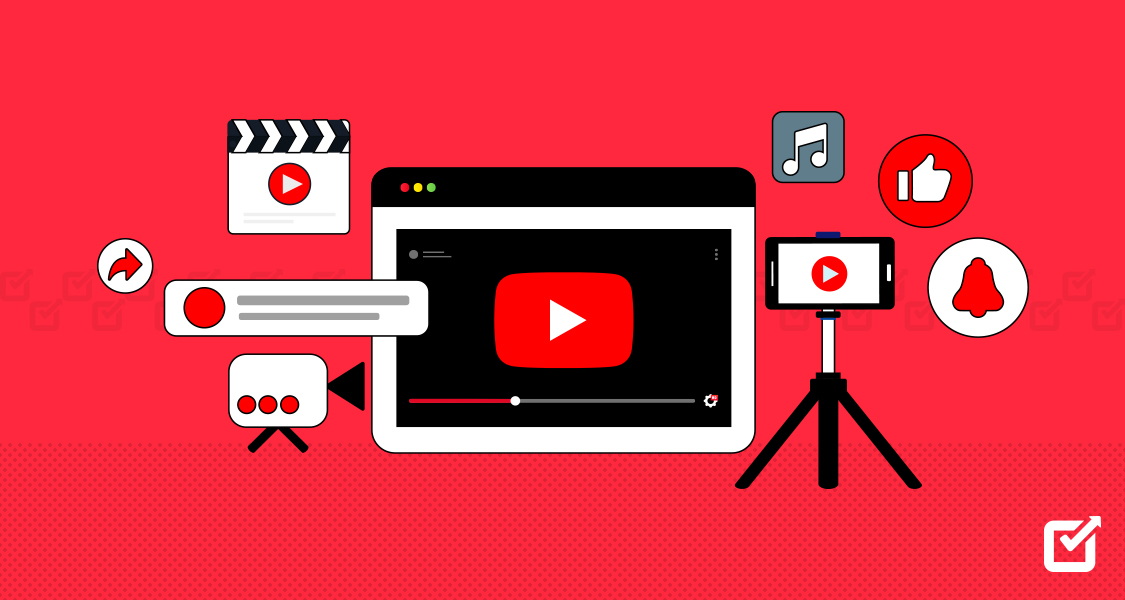
Over 2.7 billion users are estimated to visit YouTube each month, consuming billions of hours of content daily. If you’re eager to join this thriving platform, you’re probably wondering how to make a YouTube video. Luckily, crafting your own YouTube videos is simpler than you think.
Let’s make this process even more relatable. Picture yourself with a vision board full of ideas, a cluttered desk strewn with props, and a camera poised to capture your magic.
Wondering how to make a YouTube video already?
The journey begins from brainstorming to scripting, filming, editing, and finally hitting that upload button. With a touch of your personality and a sprinkle of dedication, you’re all set to become the next YouTube sensation!
However, managing upload times, optimizing visibility, and staying consistent can be challenging. Enter Social Champ – your reliable YouTube scheduler that helps you maintain a consistent presence on the platform. This tool will free you up so you can focus on content creation while ensuring timely releases for your audience to enjoy.
So, grab your camera, let your creativity flow, and follow these 10 simple steps to craft engaging content that resonates with your audience while letting the YouTube scheduler lend you a helping hand along the way.
Step 1: Research Your Topic to Make a YouTube Video
Researching your topic is critical in creating a successful YouTube video, as it forms the backbone of your content. Thorough research enriches your video with valuable information and helps you understand your target audience’s preferences, enhancing the chances of your video being discovered and appreciated.
Here’s how to go about it:
Identify Your Audience
Begin by defining your target audience. Who are they? What are their interests? Understanding your viewers’ demographics, preferences, and pain points will guide your topic selection.
You can utilize social media platforms, forums, and communities to engage with your potential viewers. Understanding their questions, concerns, and feedback can inspire new video ideas or provide fresh perspectives on your chosen topic.
Content Analysis
Watch similar videos in your niche. Analyze what works well, what engages the audience, and what gaps exist. This not only gives you insights but also helps in differentiating your content.
Explore Multiple Sources
Dive into various sources like articles, books, reputable websites, and academic papers to gather in-depth information. Cross-referencing multiple sources helps ensure accuracy and credibility in your content.
Stay Updated
Keep yourself updated with the latest trends, news, and developments in your niche. This helps in creating timely and relevant content that resonates with your audience.
Remember, thorough research not only enriches your video but also establishes credibility and authority in your niche. It’s the foundation upon which your engaging and informative YouTube content can flourish, attracting and retaining a dedicated audience.
Step 2: Plan Your Video Content
Planning your video content is like creating a roadmap that guides you through the entire video-making process, ensuring a smooth and engaging viewing experience for your audience. It’s the behind-the-scenes effort that lays the groundwork for a successful video.
The second step for how to make a YouTube video should go into planning your video content:
Define Your Purpose
Start by clarifying the purpose of your video. What message do you want to convey? Are you aiming to entertain, educate, or inspire your audience?
Storyboarding
Visualize your video by sketching a storyboard or creating a shot list. This helps organize your ideas, frame shots, and maintain coherence in your narrative.
Scripting
If your video involves dialogue or narration, scripting is vital. Jot down key points, transitions, and any necessary dialogue. Keep it conversational, injecting your personality into the words.
Organize Your Shots
Plan the sequence of shots and scenes you’ll need. Consider the location, lighting, props, and any additional equipment required for filming.
Time Management
Allocate time for each segment of your video – from filming to editing. A well-planned schedule ensures efficiency and helps in meeting deadlines.
Engage with Your Audience
Involve your audience in the planning phase. Ask for their input, ideas, or feedback through polls, comments, or surveys. This fosters a sense of community and ensures you’re catering to their interests.
Flexibility
While planning is essential, be open to improvisation. Sometimes the best moments happen spontaneously. Allow room for creativity and adaptability during filming.
Test and Review
Before finalizing your plan, test your ideas. Review the storyboard or script and seek feedback from peers or friends. Their perspectives can offer valuable insights.
Think of planning as laying the foundation for a sturdy house. The stronger the plan, the more seamless the execution. It saves time and enables you to deliver content that resonates with your audience, keeping them engaged and eager for more.
Remember, a well-thought-out plan isn’t just a guideline; it’s your tool to craft a captivating narrative that captures hearts and minds, making your YouTube video an unforgettable experience for your viewers.
Related Article: Comprehensive Guide to YouTube Monetization: Strategies, Rules, and Revenue Generation for 2025
Step 3: Catchy Titles and Thumbnails
Just like a compelling book cover and an intriguing title can lure readers, a catchy title and an engaging thumbnail are your tools to draw viewers into your video’s narrative. They set the stage for what’s to come, encouraging your audience to click, watch, and immerse themselves in your YouTube content.
Therefore, your titles should be concise, descriptive, and pique curiosity. You should consider using keywords relevant to your content and audience interests. What would catch their attention? Tailor your visuals and language to appeal directly to them.
As for the thumbnails, create visually appealing ones that complement your title. You should consider using high-resolution images or custom graphics that stand out. Moreover, you should include readable text (if necessary) that reinforces the title and entices viewers to click.
For both the titles and thumbnails, you should ensure they accurately represent the content of your video. Misleading titles and thumbnails can lead to disappointment and harm your channel’s credibility in the long run. So, be sure to inject your personality into these elements while ensuring they accurately represent the essence of your video.
Another important thing to do is to experiment with different titles and thumbnail designs. You can conduct A/B testing to understand which combinations resonate best with your audience. This data-driven approach can significantly improve your click-through rates.
Remember to maintain consistency in your titles and thumbnails across your channel. Develop a recognizable style or color scheme that aligns with your brand. This helps viewers identify your content amidst the crowd.
Step 4: Optimize Video for Search Engines
Imagine yourself as a librarian organizing books on the library shelves. Each book represents a video, and your goal is to make sure that people looking for specific information can easily find the right book. That’s where optimizing for search engines comes in – it’s like placing your video in the right section of the library, making it easily accessible to those seeking its content.
There are several efforts that go into optimizing video for search engines when talking about how to make a YouTube video. They include:
Keyword Research
Start by researching relevant keywords and phrases using tools like Google Keyword Planner, YouTube Analytics, or even the YouTube search bar itself. These keywords reflect what your audience is searching for and can boost your video’s visibility.
Title and Description
Incorporate your chosen keywords naturally into your video title and description. Craft a compelling title that not only includes keywords but also entices viewers to click. Remember to describe your video accurately and engagingly in the description, using relevant keywords where appropriate.
Tags and Categories
You should use descriptive tags that relate to your video content. Tags help YouTube understand what your video is about and can improve its search ranking. Be sure to place your video in relevant categories to further enhance its visibility.
Transcripts and Closed Captions
Providing accurate transcripts or closed captions for your videos not only aids accessibility but also adds to the content that search engines can crawl. This can potentially improve your video’s search engine ranking.
Engagement and Retention
Engagement and retention are the lifeblood of a successful YouTube channel. When you prioritize them, you can expect to have a dedicated audience that eagerly anticipates your content, fostering a vibrant and thriving YouTube community. As such, you should encourage viewer engagement through likes, comments, and shares. High levels of engagement signal to search engines that your video is valuable and relevant, potentially improving its ranking.
Thumbnail and Video Quality
A visually appealing thumbnail can increase your video’s click-through rate, positively impacting its search ranking. Additionally, ensure your video is of high quality as viewer retention rates also influence search rankings.
Consistency and Analytics
Maintaining a consistent style, quality, and posting frequency not only strengthens your channel’s identity but also contributes significantly to long-term growth and success on YouTube. As such, you should try as much as possible to stay consistent with your posting schedule and monitor video analytics. Analyze what works well and what needs improvement. Adjust your optimization strategy based on these insights.
Unlock the Power of Insights!
Utilize Social Champ’s YouTube analytics feature to elevate your content strategy, understand your audience better, and make data-driven decisions to boost your YouTube channel’s performance.
Step 5: Get Your Equipment
Just like a chef relies on quality ingredients and proper kitchen tools to create a masterpiece, having the right equipment enhances your ability to produce engaging and high-quality YouTube content.
Here’s a list of equipment you’ll need to make your YouTube videos:
Camera
Your camera is like the lens through which your audience sees your world. Whether it’s a smartphone, a DSLR, or a dedicated video camera, choose one that fits your budget and filming style. Note that high-resolution videos captivate viewers and convey a professional image.
Microphone
Clear audio is as essential as clear visuals. A good-quality microphone captures your voice or any audio nuances effectively, ensuring your audience doesn’t miss out on important details. From lapel mics to shotgun microphones, select one that suits your recording environment and needs.
Lighting
Lighting sets the mood and enhances the visual appeal of your video. Natural light or studio lighting kits can significantly improve the quality of your shots, making your content more engaging and professional.
Tripod or Stabilizer
Stability is key to a polished video. A tripod or stabilizer minimizes shaky footage, providing smooth and professional-looking Editing Software
Editing is where your raw footage transforms into a coherent, visually appealing story. Choose user-friendly editing software that suits your skill level and offers the features necessary to enhance your videos.
Backdrop or Set Design
Your filming environment impacts the visual appeal of your video. A well-designed backdrop or set can elevate the production value and reinforce your brand or content theme.
Computer or Laptop
A reliable computer or laptop equipped with sufficient processing power and storage is essential for video editing. It’s the workstation where your creativity takes shape.
While equipment is important, remember that it’s not just about having the most expensive gear. It’s about choosing tools that align with your content goals, budget, and skills.
Step 6: Set the Stage!
Setting the stage for a YouTube video is like preparing a captivating and inviting environment where your story unfolds. It involves creating the perfect backdrop, arranging the necessary props, and ensuring a conducive atmosphere for filming.
Here are the things to think about when setting the stage:
Location
Choose a location that complements your video’s theme and message. It could be indoors or outdoors, but ensure it’s free from distractions and has adequate lighting and acoustics.
Backdrop
Your backdrop sets the visual tone for your video. Whether it’s a clean and simple background, a decorated set, or a specific scene, make sure it aligns with your content and doesn’t distract from your message.
Props and Décor
Depending on your content, props and accessories can add depth and interest to your videos. They help in conveying your message creatively and engagingly. Therefore, be sure to incorporate props or decorations that enhance your video’s storytelling. These could be items relevant to your topic or objects that add visual interest and depth to your narrative.
Organization and Cleanliness
Clutter or mess can detract from your video’s professionalism. As such, you should keep your filming space tidy and organized. Ensure cables, equipment, and any unnecessary items are out of sight.
Lighting Setup
Proper lighting is essential for a visually appealing video. Natural light or artificial lighting sources should be positioned to illuminate your subject effectively, avoiding harsh shadows or overexposure.
Sound Preparation
Consider the audio environment. Choose a quiet location to minimize background noise. Use soundproofing materials or adjust your filming schedule to avoid disturbances if necessary.
Comfort and Convenience
Ensure the comfort of everyone involved in the video. Whether it’s yourself, actors, or crew members, having a comfortable environment helps maintain focus and creativity during filming.
Camera Setup
Position your camera or recording device appropriately. Test different angles and compositions to find your video’s most visually appealing setup.
Just like a stage is carefully set to immerse the audience in a theatrical performance, setting the stage for your YouTube video creates an immersive experience for your viewers. It’s about creating an environment that complements your content, captures attention, and enhances the overall quality of your video. The stage you set becomes the canvas upon which your story unfolds, captivating your audience and making your video memorable.
Featured Article: How to Use an Instagram Business Account in 2025: Proven Tips & Tricks
Step 7: Prepare Yourself To Be On Camera
Imagine you’re getting ready for an important conversation with a group of people. You want to be comfortable, confident, and yourself. Being on camera is similar – it’s about connecting with your audience authentically and making them feel at ease.
Here are several things to keep in mind when preparing yourself to be on camera:
Practice
Practice speaking in front of the camera to become comfortable with the process. Start by recording short clips or practicing your lines to build confidence and familiarity with being on camera.
Voice and Diction
Practice speaking clearly and at a comfortable pace. Enunciate your words and modulate your voice to keep your audience engaged. Avoid speaking too fast or too softly.
Appearance
Dress appropriately for the tone and message of your video. Choose clothes that make you feel confident and align with your content. Additionally, pay attention to grooming and appearance to present yourself professionally.
Body Language
Be mindful of your body language. Maintain good posture, use hand gestures naturally, and make eye contact with the camera to establish a connection with your audience.
Script Familiarity
If using a script, become familiar with it beforehand. Practice delivering your lines naturally without sounding rehearsed. Strive for authenticity rather than perfection.
Mindset and Confidence
Believe in yourself and your message. Visualize your audience as friends or supporters, and speak with enthusiasm and passion. Embrace any nerves as natural excitement.
Relaxation Techniques
Employ relaxation techniques such as deep breathing or meditation before filming to calm nerves and enhance focus.
Feedback and Improvement
Seek feedback from peers or mentors. Constructive criticism helps refine your on-camera presence and delivery.
Just like preparing for a heartfelt conversation with a friend, preparing yourself to be on camera involves being genuine, confident, and relatable. Your authenticity and preparation shine through, making your YouTube video more engaging and impactful.
Step 8: Time to Hit Record
This is the pivotal moment in your YouTube video creation journey when all your preparation and planning culminate in action. It’s the moment when the magic begins, and your story starts to unfold in front of the camera.
Think of this step as stepping onto a stage to perform in a play you’ve rehearsed diligently. You’ve set the scene, memorized your lines, and now it’s your time to shine.
Here are a few things to keep in mind:
Nerves and Excitement
Just before hitting that record button, you might feel a mix of nerves and excitement, much like the rush before a thrilling adventure. Embrace these feelings as they can fuel your energy and passion on camera.
Take a Deep Breath
Before starting, take a moment to breathe deeply and relax. This simple act can calm nerves and help you maintain composure during filming.
Start Recording
Hit that record button with confidence. Remember, you can always do multiple takes if needed. Don’t pressure yourself to be perfect from the get-go; it’s okay to make mistakes.
Focus on the Message
Center yourself on the content you want to deliver. Remember the key points you’ve outlined and aim to convey them naturally and passionately. Your goal is to engage and inform your audience.
Authenticity is Key
Be yourself. Let your personality shine through. Authenticity resonates with viewers and helps establish a genuine connection
Maintain Energy and Enthusiasm
Keep your energy levels up throughout the recording. Enthusiasm is contagious and can captivate your audience’s attention.
Adapt as Needed
Stay flexible during filming. If something doesn’t go as planned, adapt and continue. Sometimes, unexpected moments can lead to the most genuine and engaging content.
Enjoy the Process
Filming should be enjoyable. Embrace the experience and have fun with it. When you’re enjoying yourself, it reflects positively in your video.
Just like starting an exciting chapter in a book or embarking on a thrilling adventure, hitting that record button marks the beginning of your YouTube video’s journey. It’s your time to share your story, insights, or expertise with the world, and every moment captured on camera adds to the narrative you’re crafting for your audience. So, embrace the moment, stay true to your content, and let your creativity flow as you hit that record button!
Related Article: Proven Ways to Boost Personal Branding on Social Media in 2025
Step 9: Edit Your Work
This is the stage where you refine, enhance, and bring together all the elements to create a seamless and engaging viewing experience for your audience.
Imagine yourself as an artist working on a canvas. Editing is your palette and brush, allowing you to add depth, color, and texture to your creation, making it visually appealing and compelling.
Here’s what you should do when editing your YouTube video:
Reviewing Footage
Start by reviewing all the footage you’ve captured. Go ahead and choose the best takes and clips that align with your content’s narrative and goals.
Structuring the Story
Organize your selected clips into a logical sequence. Ensure your video has a clear beginning, middle, and end. Be sure to cut out any unnecessary or repetitive sections to maintain audience engagement.
Adding Transitions
Incorporate transitions between scenes to create a smooth flow. Transition effects like cuts, fades, or wipes help in seamlessly connecting different parts of your video.
Enhancing Visuals and Audio
Adjust the color, brightness, and contrast to enhance visual appeal. Ensure audio levels are balanced and clear. You can also add background music or sound effects where appropriate to elevate the viewing experience.
Text and Graphics
Include text overlays, titles, or graphics to reinforce key points or guide your audience. Use them sparingly and effectively to avoid overwhelming the viewer.
Trimming and Refining
Trim clips to remove pauses, mistakes, or irrelevant content. Tighten your video to maintain pacing and keep the audience engaged.
Quality Check
Review your edited video multiple times to spot any errors or areas that need improvement. Pay attention to details like spelling errors, audio glitches, or visual inconsistencies.
Seeking Feedback
Consider seeking feedback from trusted peers or collaborators. Fresh perspectives can help identify areas for improvement that you might have overlooked.
Final Touches
Once satisfied, add any final touches or effects that enhance your video without overpowering the content.
Like a sculptor chiseling away to reveal a masterpiece, editing is the craft that shapes your video into a compelling story, captivating your audience’s attention and leaving a lasting impression.
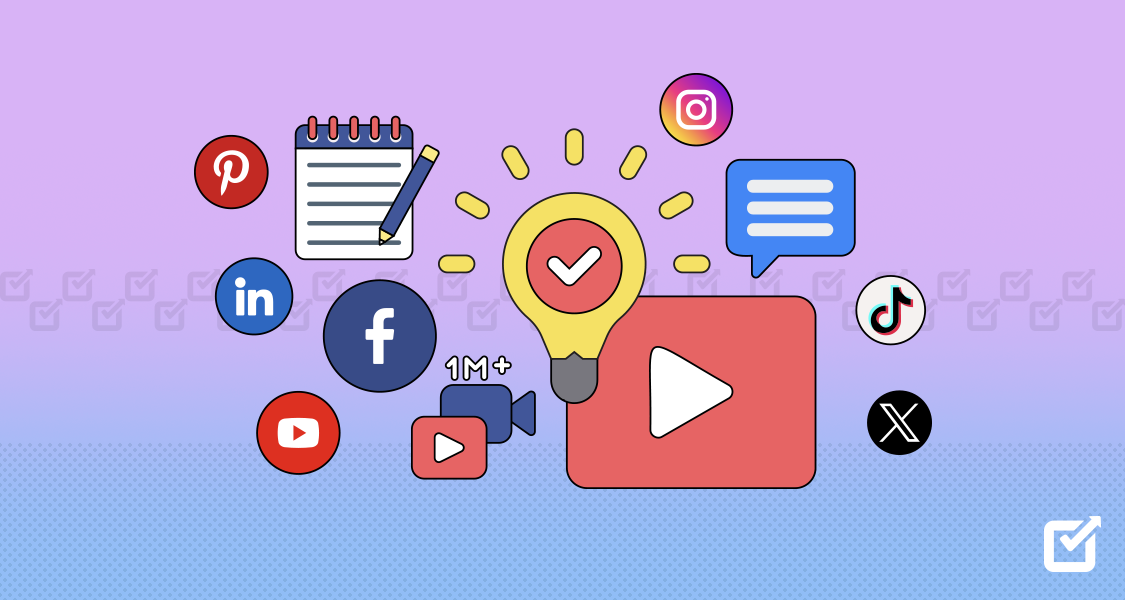
Step 10: Repurpose Your Video
Just as you can use one ingredient in multiple dishes, repurposing your video allows you to create different content pieces from the same original video. It’s like recycling or upcycling – transforming your existing video into new formats or platforms to reach a wider audience and extend its lifespan.
The last step for how to make a YouTube video goes about repurposing your YouTube video:
Create Short Clips
Extract shorter segments or highlights from your video. These snippets can be shared as teasers on social media platforms like Instagram, Twitter, or TikTok to attract new viewers or drive traffic back to the full video.
Transcribe for Blog Posts
Transcribe your video content into written form to create blog posts or articles. Expand on the concepts discussed in the video and optimize the written content for SEO to reach a broader audience through search engines.
Podcast or Audio Content
Extract the audio from your video and repurpose it into podcast episodes. Share insights, discussions, or interviews in an audio format, reaching audiences who prefer listening over watching.
Create Infographics or Slides
Condense key points or data from your video into visually appealing infographics or slide presentations. These visual aids can be shared on platforms like Pinterest or LinkedIn to engage different audience demographics.
Compile into Webinars or Courses
Combine related videos to create comprehensive webinars or courses. These longer-form content pieces can provide in-depth knowledge on a specific topic, catering to audiences seeking detailed information.
Interactive Content
Transform your video content into interactive formats like quizzes, polls, or interactive presentations. Engage your audience by allowing them to participate and interact with the content.
Live Q&A Sessions or Behind-the-Scenes
Host live sessions where you discuss the content of your video further or provide behind-the-scenes insights. This interactive approach keeps your audience engaged and builds a sense of community.
Republishing or Re-sharing
Periodically reshare or republish your video on various platforms or at different intervals. This helps reach new audiences who might have missed the initial release.
Repurposing your video content allows you to maximize its value and reach. It’s not just about creating new content but leveraging your existing material to connect with diverse audiences across different platforms and preferences.
How to Make a YouTube Video on Your Phone
We’ve established that you need proper equipment to make a YouTube video. But did you know that you can make a great video with just your phone?
Before you embark on this endeavor, ensure your phone has sufficient storage space. Optionally, use external accessories like tripods or microphones for better quality. Be sure to set your phone on a stable surface or use a tripod for steady shots.
When it comes to recording our phone, open your phone’s camera app or a dedicated video recording app. Frame your shot and start recording, following your script or talking points. You can record additional footage or B-roll to complement your main content if necessary.
In addition, ensure clear audio by speaking loudly and clearly, or using an external microphone if available.
When it comes to editing your video, use video editing apps available on your phone to trim, cut, and arrange your footage. Add transitions, music, or text if desired to enhance the video. You can also apply filters or effects to enhance the visual appeal of your video.
Be sure to watch the edited video to ensure it flows well and conveys your message effectively.
Now here comes the fun part: uploading your video to YouTube. Here are the steps to follow:
- Open the YouTube app or access the YouTube website on your phone’s browser.
- Tap the “+” icon to upload your video.

How to make a YouTube video step 1 - Click on “Upload a video”

How to make a YouTube video – step 2 - Allow YouTube access to your video gallery.

How to make a YouTube video – step 3 - Adjust the video and click “Next.”

How to make a YouTube video – step 4 - Add sound, text, filters, voice over and Q&A.

How to make a YouTube video – step 5


Add a caption, set visibility, select your location, and select the audience.
Once ready, tap “Upload” to share your video on YouTube.
That’s how to make a video on YouTube using your phone.
TIP: Remember to maintain a steady hand while recording, focus on clear audio, and edit your video to ensure it’s engaging before uploading it to your YouTube channel.
How to Upload a YouTube Video on Your Computer
If you have a computer, you may be wondering how to make a video on YouTube using a PC. Well, uploading a YouTube video using a computer is as straightforward as uploading using a phone.
Here are the steps to upload a YouTube video using a computer:
- Sign in to Your YouTube Account
Open your web browser and navigate to YouTube. Sign in to your Google account associated with your YouTube channel. - Click on the Create Button

How to Upload a YouTube Video via PC – Step 1 In the upper right corner, click on the “Create” button represented by a video camera icon.
- Select ‘Upload Video’

How to Upload a YouTube Video via PC – Step 2 From the dropdown menu, choose “Upload Video” to start the upload process.
- Choose Your Video File
Click on the “Select files to upload” or drag-and-drop your video file into the upload window.
How to Upload a YouTube Video via PC – Step 3 - Fill in Video Details

How to Upload a YouTube Video via PC – Step 4 While the video uploads, you can add video details, such as:
- Title: Create a descriptive and engaging title for your video.
- Description: Write a compelling description that includes relevant keywords and information about your video.
- Tags: Add relevant keywords to help with search optimization.
- Thumbnail: Choose a custom thumbnail or select one from the video options.
- Audience and age restriction

How to Upload a YouTube Video via PC – Step 5
- Add Video Elements (Optional)

How to Upload a YouTube Video via PC – Step 6 - End Screens and Annotations
Add clickable end screens or annotations for interaction. Also, insert cards to link to other videos or external sites. - Choose Monetization (If Eligible)
If eligible, select whether to enable ads on your video for monetization. - Check for Copyright Issues

How to Upload a YouTube Video via PC – Step 7 YouTube checks for any copyright issues related to your content. Address any flagged issues if necessary.
- Set Privacy and Visibility
Choose the privacy setting for your video.- Public: Visible to everyone.
- Unlisted: Only those with the link can view it.
- Private: Visible only to you.

How to Upload a YouTube Video via PC – Step 8
- Publish or Schedule the Video
Click “Publish” if you want the video to go live immediately. Alternatively, choose a future date and time for the video to be published by clicking “Schedule.” - Review and Confirm
Review all the details, settings, and video elements before finalizing the upload. - Click ‘Done’ or ‘Save Changes’
Once satisfied, click “Done” or “Save Changes” to complete the upload process. After these steps, your video will be uploaded to your YouTube channel according to your chosen settings. It may take some time to process before becoming fully available to viewers.


Wrapping Up
When it comes to video creation, mastering the art isn’t just about recording and uploading – it’s a symphony of creativity, dedication, and strategy. As you embark on your journey to captivate audiences and leave a lasting impact, remember the power of planning, precision, and timing. Now that you know how to make a YouTube video, you should remember that precision in scheduling and timing is very crucial as it can elevate your YouTube channel’s performance. Here’s where a YouTube scheduler steps in.
Social Champ isn’t just a scheduler; it’s your reliable ally in managing and optimizing your YouTube content strategy. Whether it’s ensuring consistent uploads, optimizing posting times, or reaching a global audience by scheduling across different time zones, this social media management tool empowers you to stay ahead in the dynamic world of YouTube.
So, as you craft your videos, fuel your creativity, and engage your audience, remember the significance of not just creating content, but strategically sharing it at the right times. Embrace Social Champ as your YouTube scheduler, and watch as your content reaches new heights, leaving an indelible mark on your audience.


1 thought on “How to Make a YouTube Video in 2025 [10 Simple Steps]”
From planning and scripting to shooting and editing, you’ve covered it all. Good work!